Start a Development Cluster#
SkyPilot makes interactive development easy on Kubernetes or cloud VMs. It helps you:
Launch: Quickly get a cluster with GPUs or other resources with a single command.
Autostop: Automatically stop the cluster after some idle time for cost savings.
Connect: Easily connect to the cluster using the cluster name:
Launch#
To launch a cluster with a cheap GPU for development:
# Launch a cluster with 1 NVIDIA GPU and sync the local working directory to the
# cluster.
sky launch -c dev --gpus L4 --workdir .
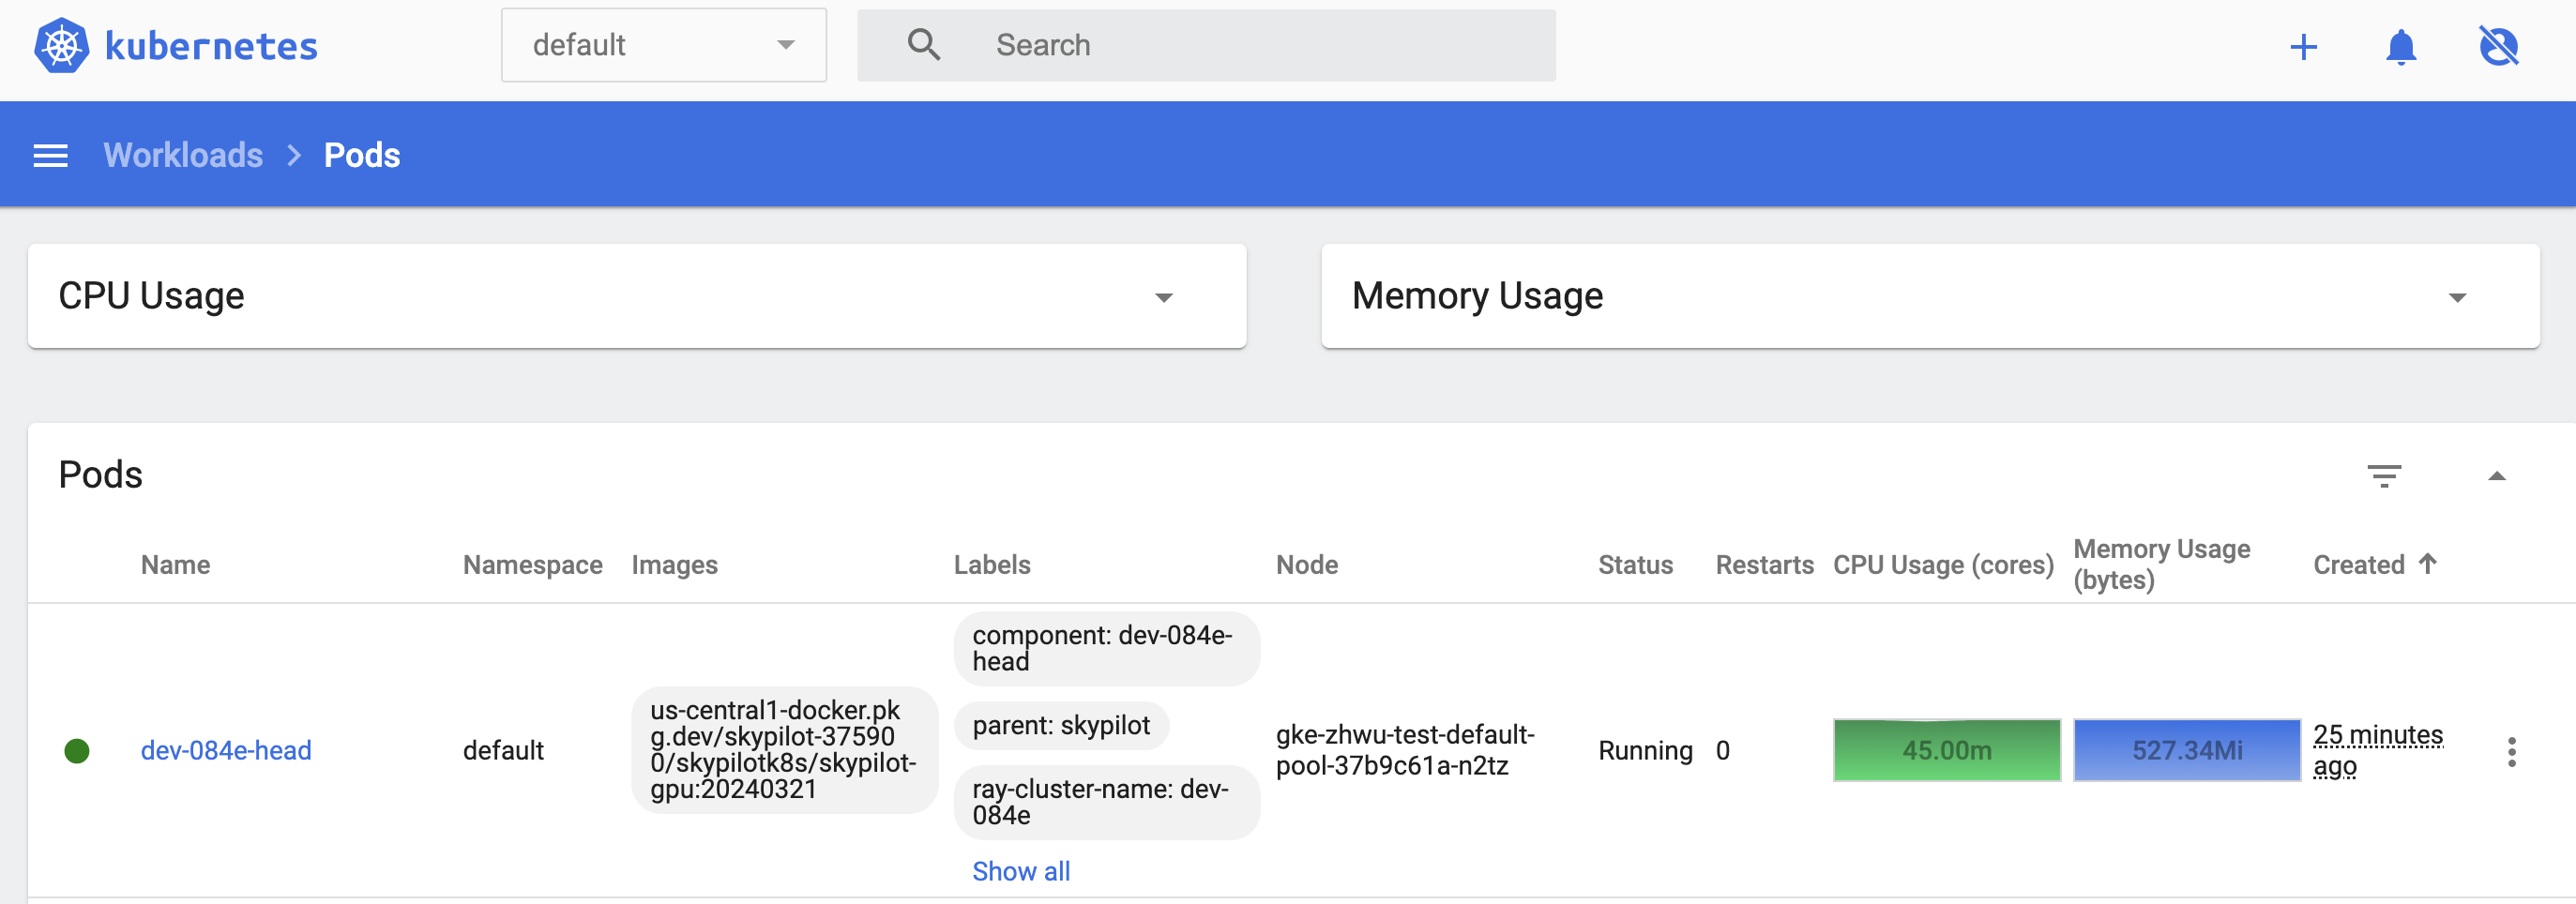
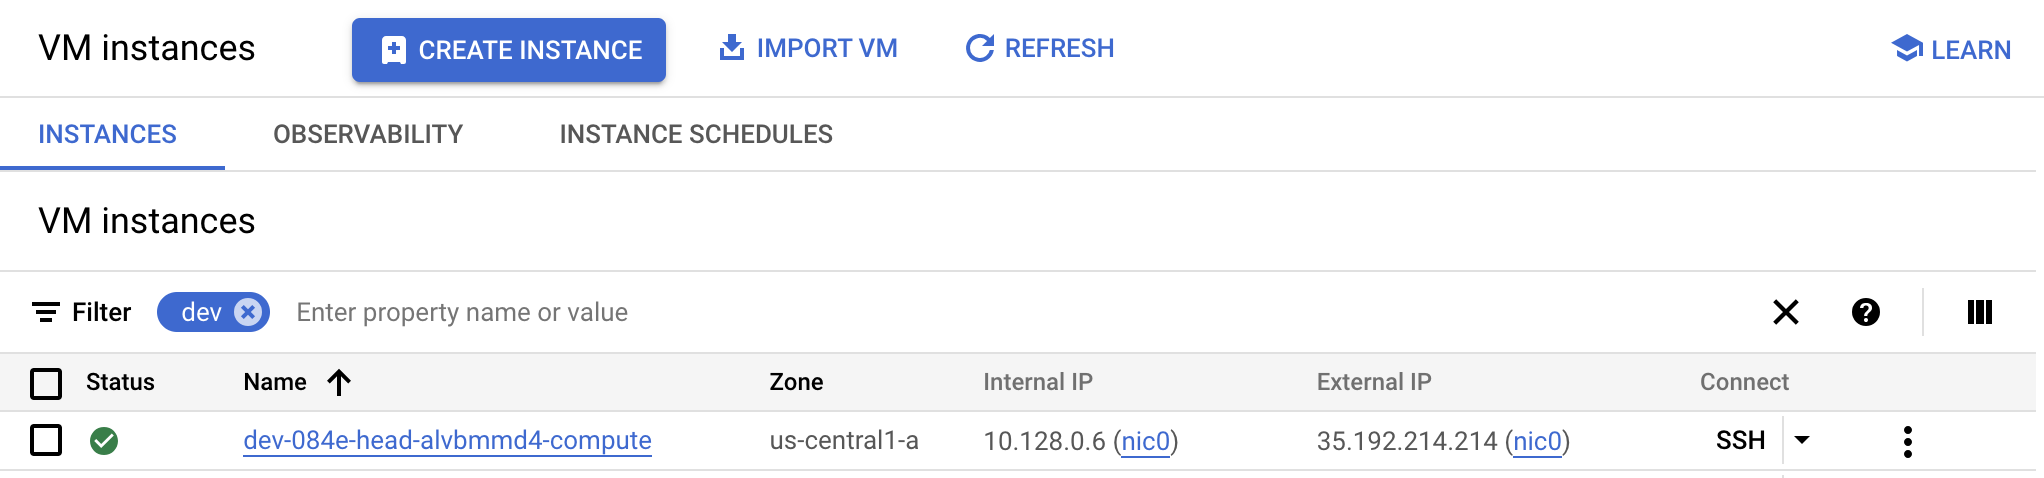
This can be launched as a pod in your Kubernetes cluster or a VM on any cloud.
Note
View the supported GPUs with the sky gpus list command.
Autostop#
SkyPilot allows you to automatically stop the cluster after a period of idle time to save costs. You can set the autostop time with a single command:
# Auto stop the cluster after 5 hours
sky autostop -i 300 dev
Or add an additional flag -i during the launch:
# Launch a cluster with auto stop after 5 hours
sky launch -c dev --gpus L4 --workdir . -i 300
For more details of auto stopping, check out: Autostop and Autodown. This feature is designed to prevent idle clusters from incurring unnecessary costs, ensuring your cluster stops automatically, whether it’s overnight or throughout the weekend.
Connect#
A user can easily connect to the cluster using your method of choice:
SSH#
SkyPilot will automatically configure the SSH setting for a cluster, so that users can connect to the cluster with the cluster name:
ssh dev
VSCode#
A common use case for interactive development is to connect a local IDE to a remote cluster and directly edit code that lives on the cluster. This is supported by simply connecting VSCode to the cluster with the cluster name:
Click on the top bar, type:
> remote-ssh, and selectRemote-SSH: Connect Current Window to Host...Select the cluster name (e.g.,
dev) from the list of hosts.Open folder:
sky_workdirand find your code.
For more details, please refer to the VSCode documentation.

Tip
Windows (WSL) users: SkyPilot automatically configures both WSL and Windows SSH settings, so VSCode’s Remote-SSH extension works out of the box with clusters launched from WSL.
Jupyter notebooks#
Jupyter notebooks are a useful tool for interactive development, debugging, and visualization.
Connect to the machine and forward the port used by jupyter notebook:
ssh -L 8888:localhost:8888 dev
Inside the cluster, you can run the following commands to start a Jupyter session:
pip install jupyter
jupyter notebook
In your local browser, you should now be able to access localhost:8888 and see the following screen:
Jupyter authentication page
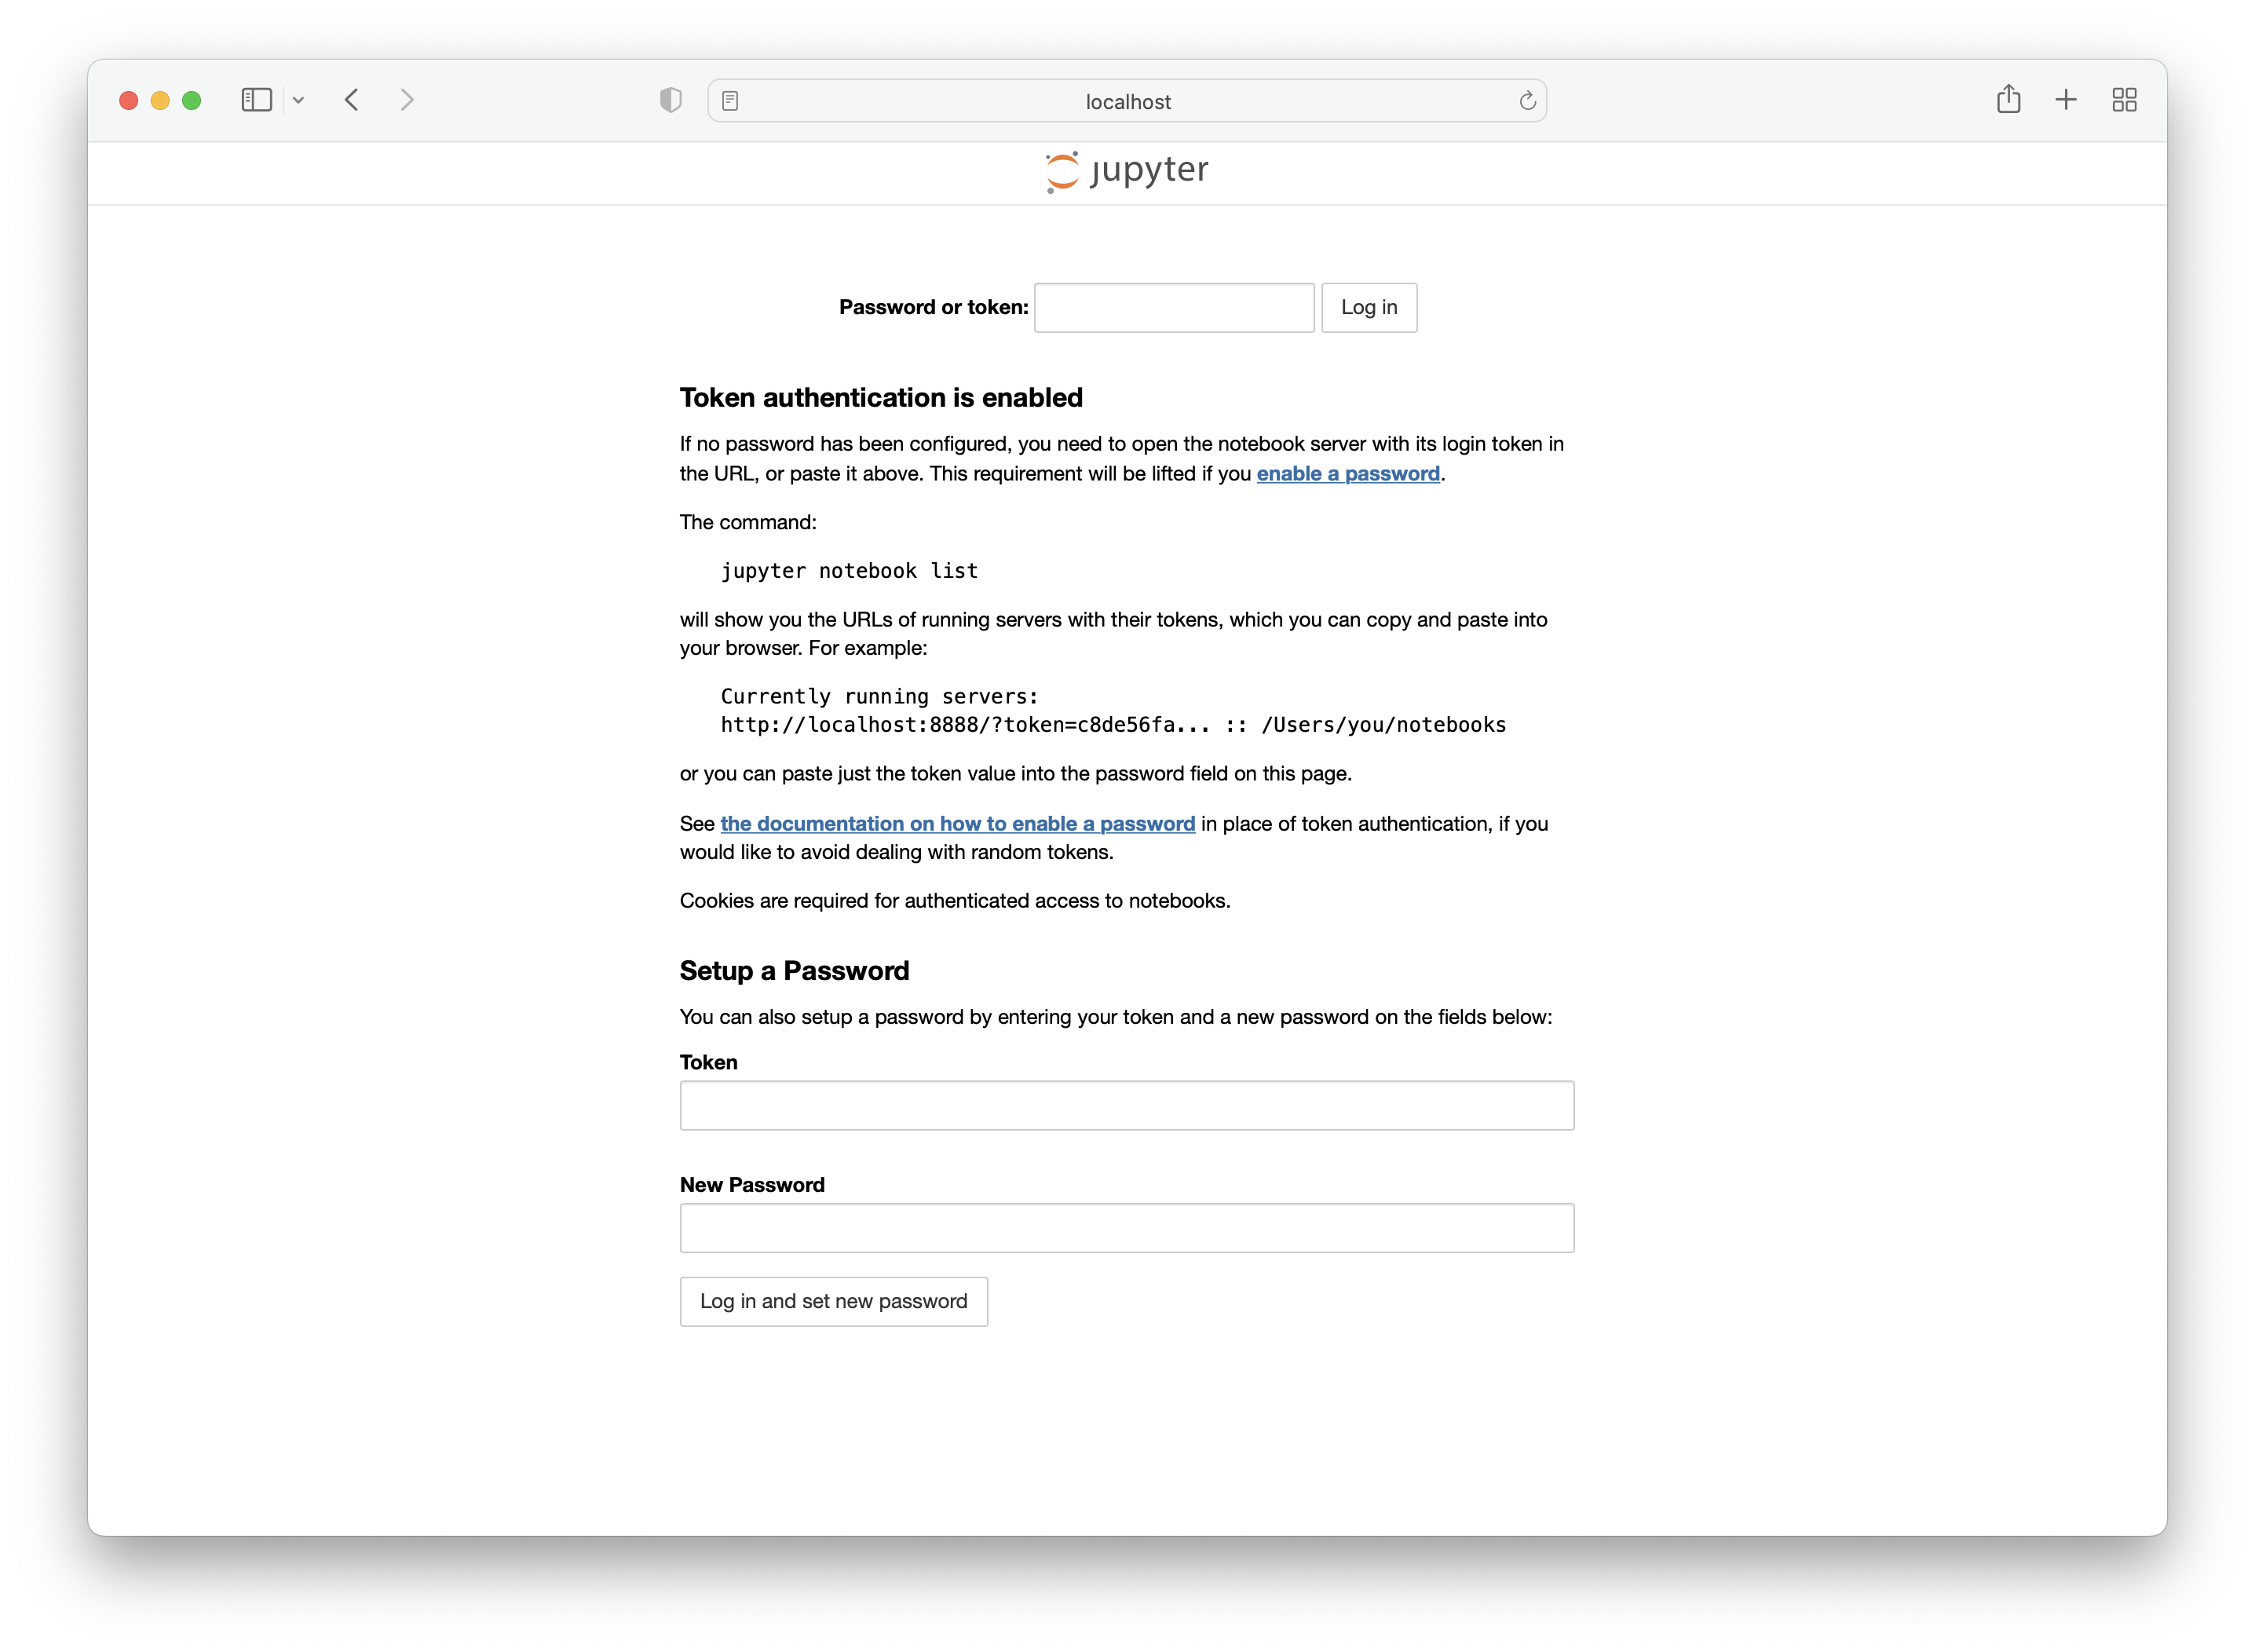
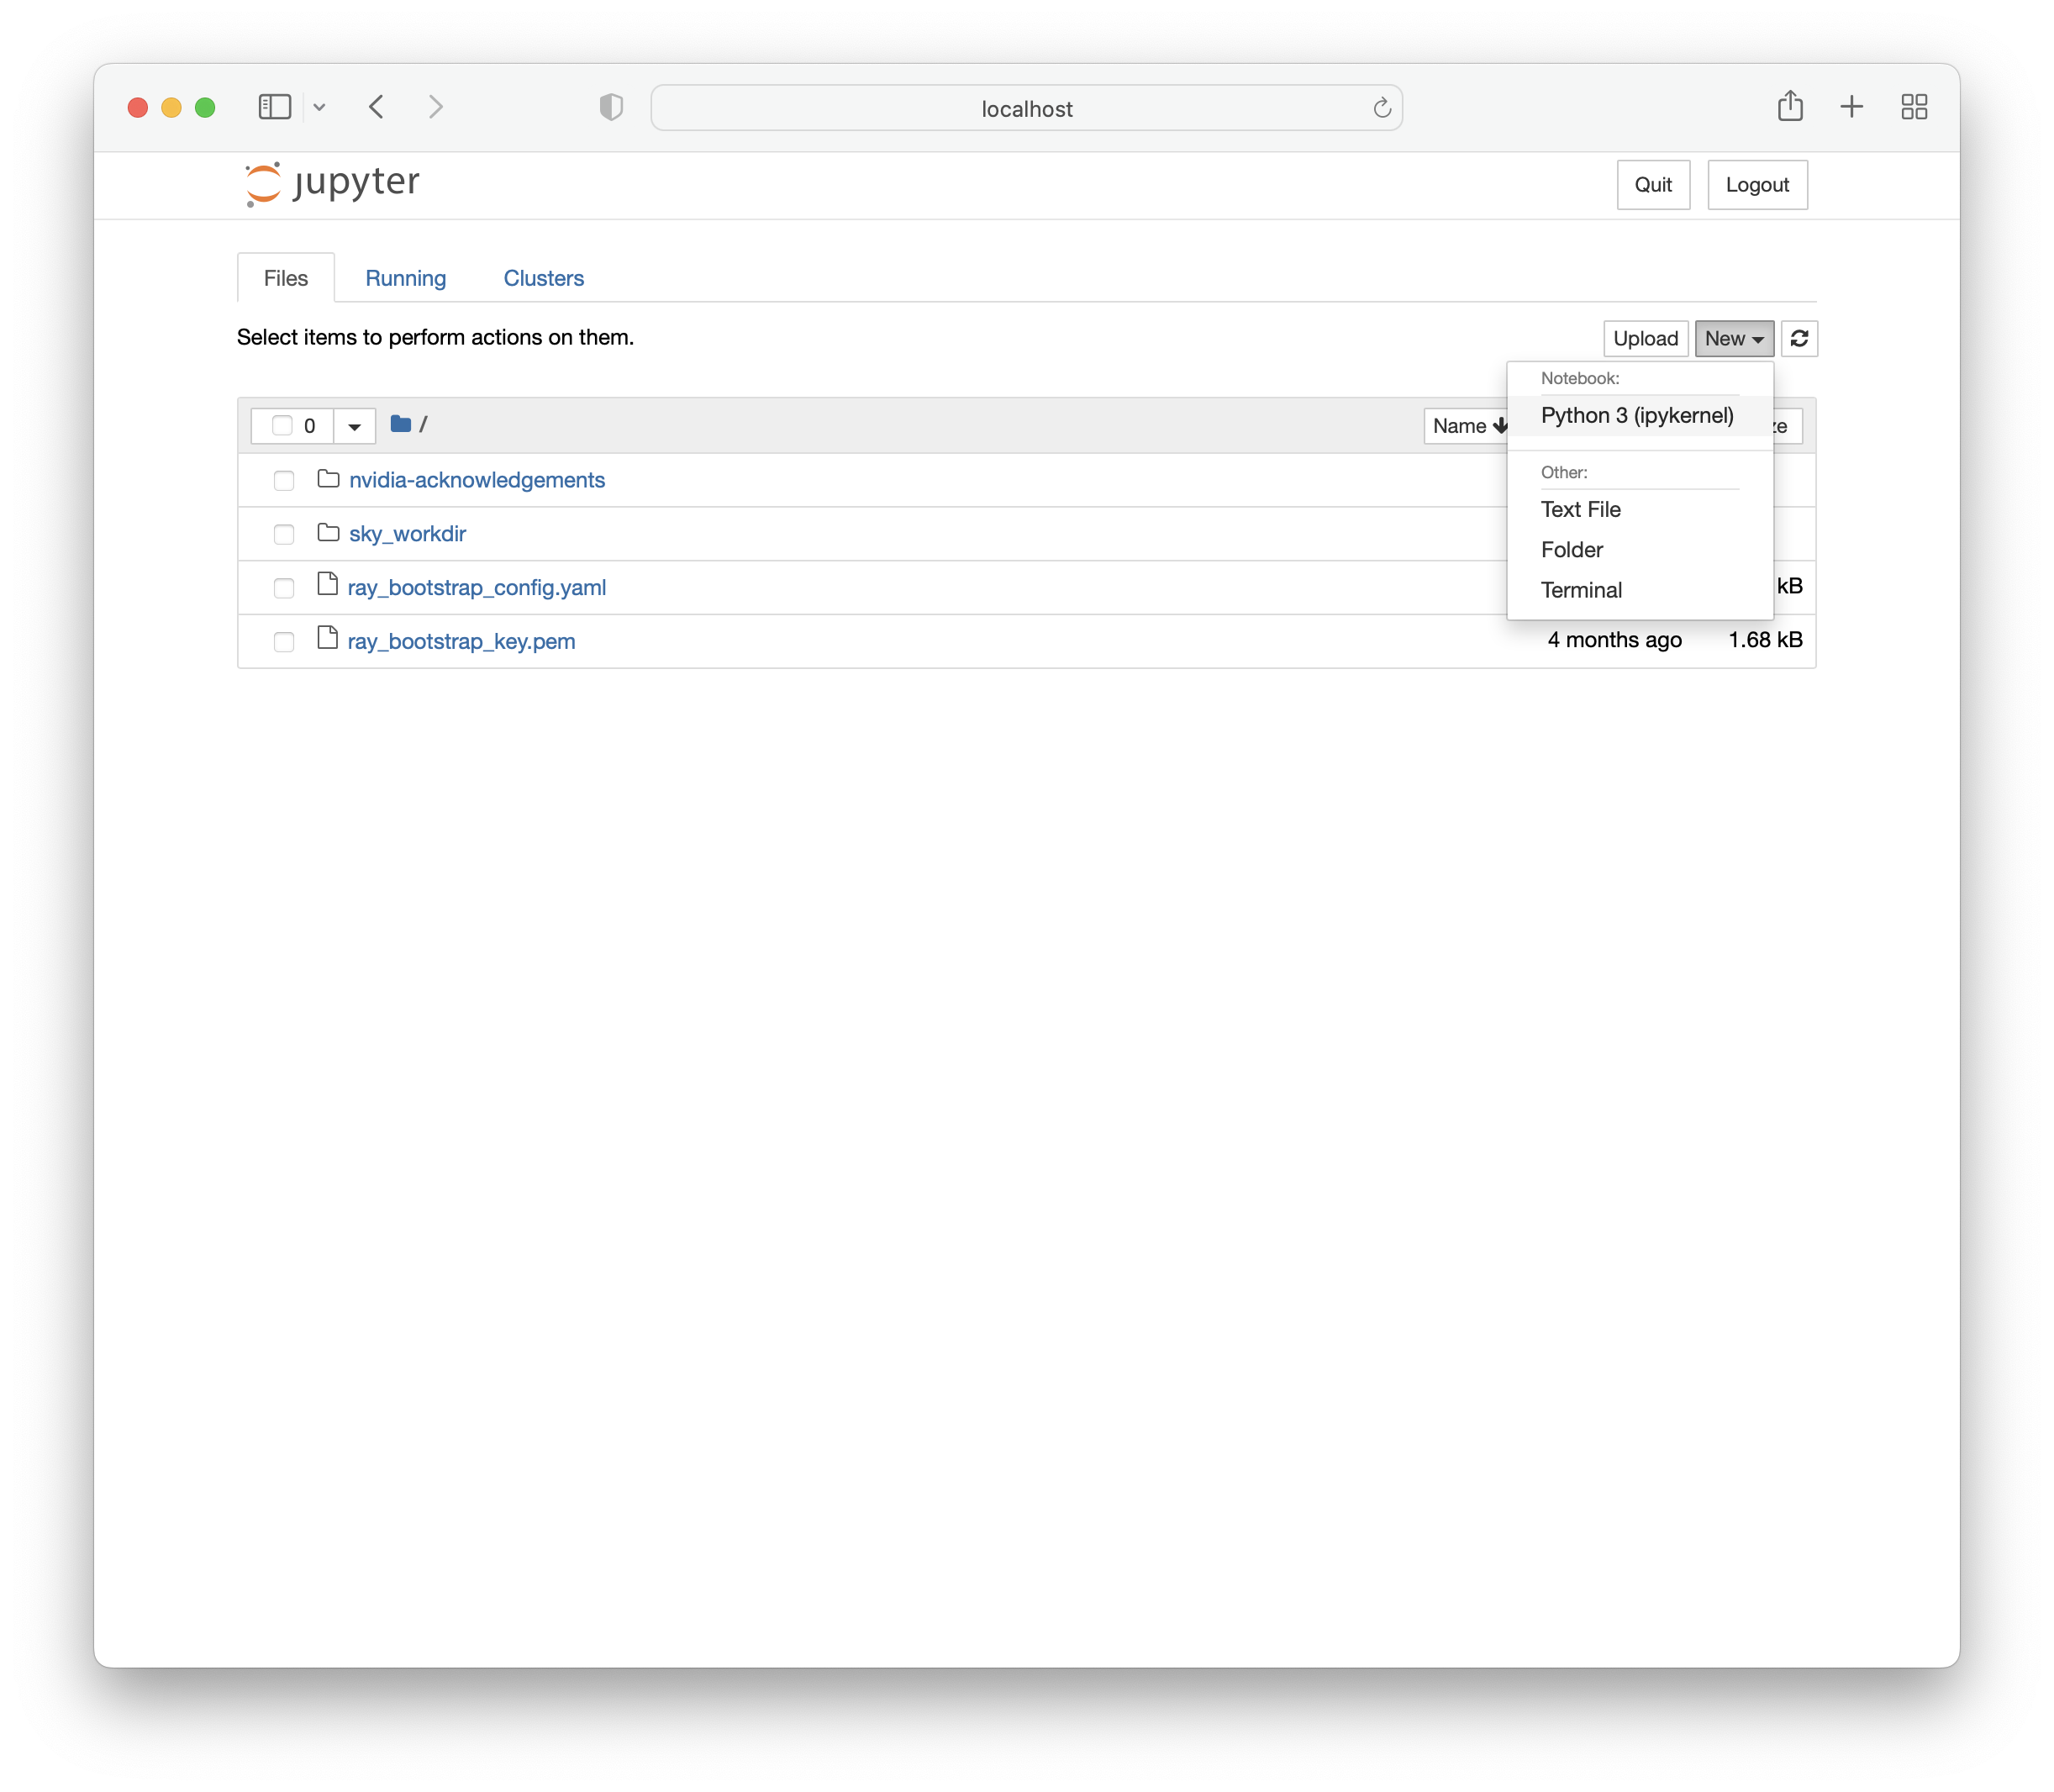
Enter the password or token and you will be directed to a page where you can create a new notebook.
Jupyter home page
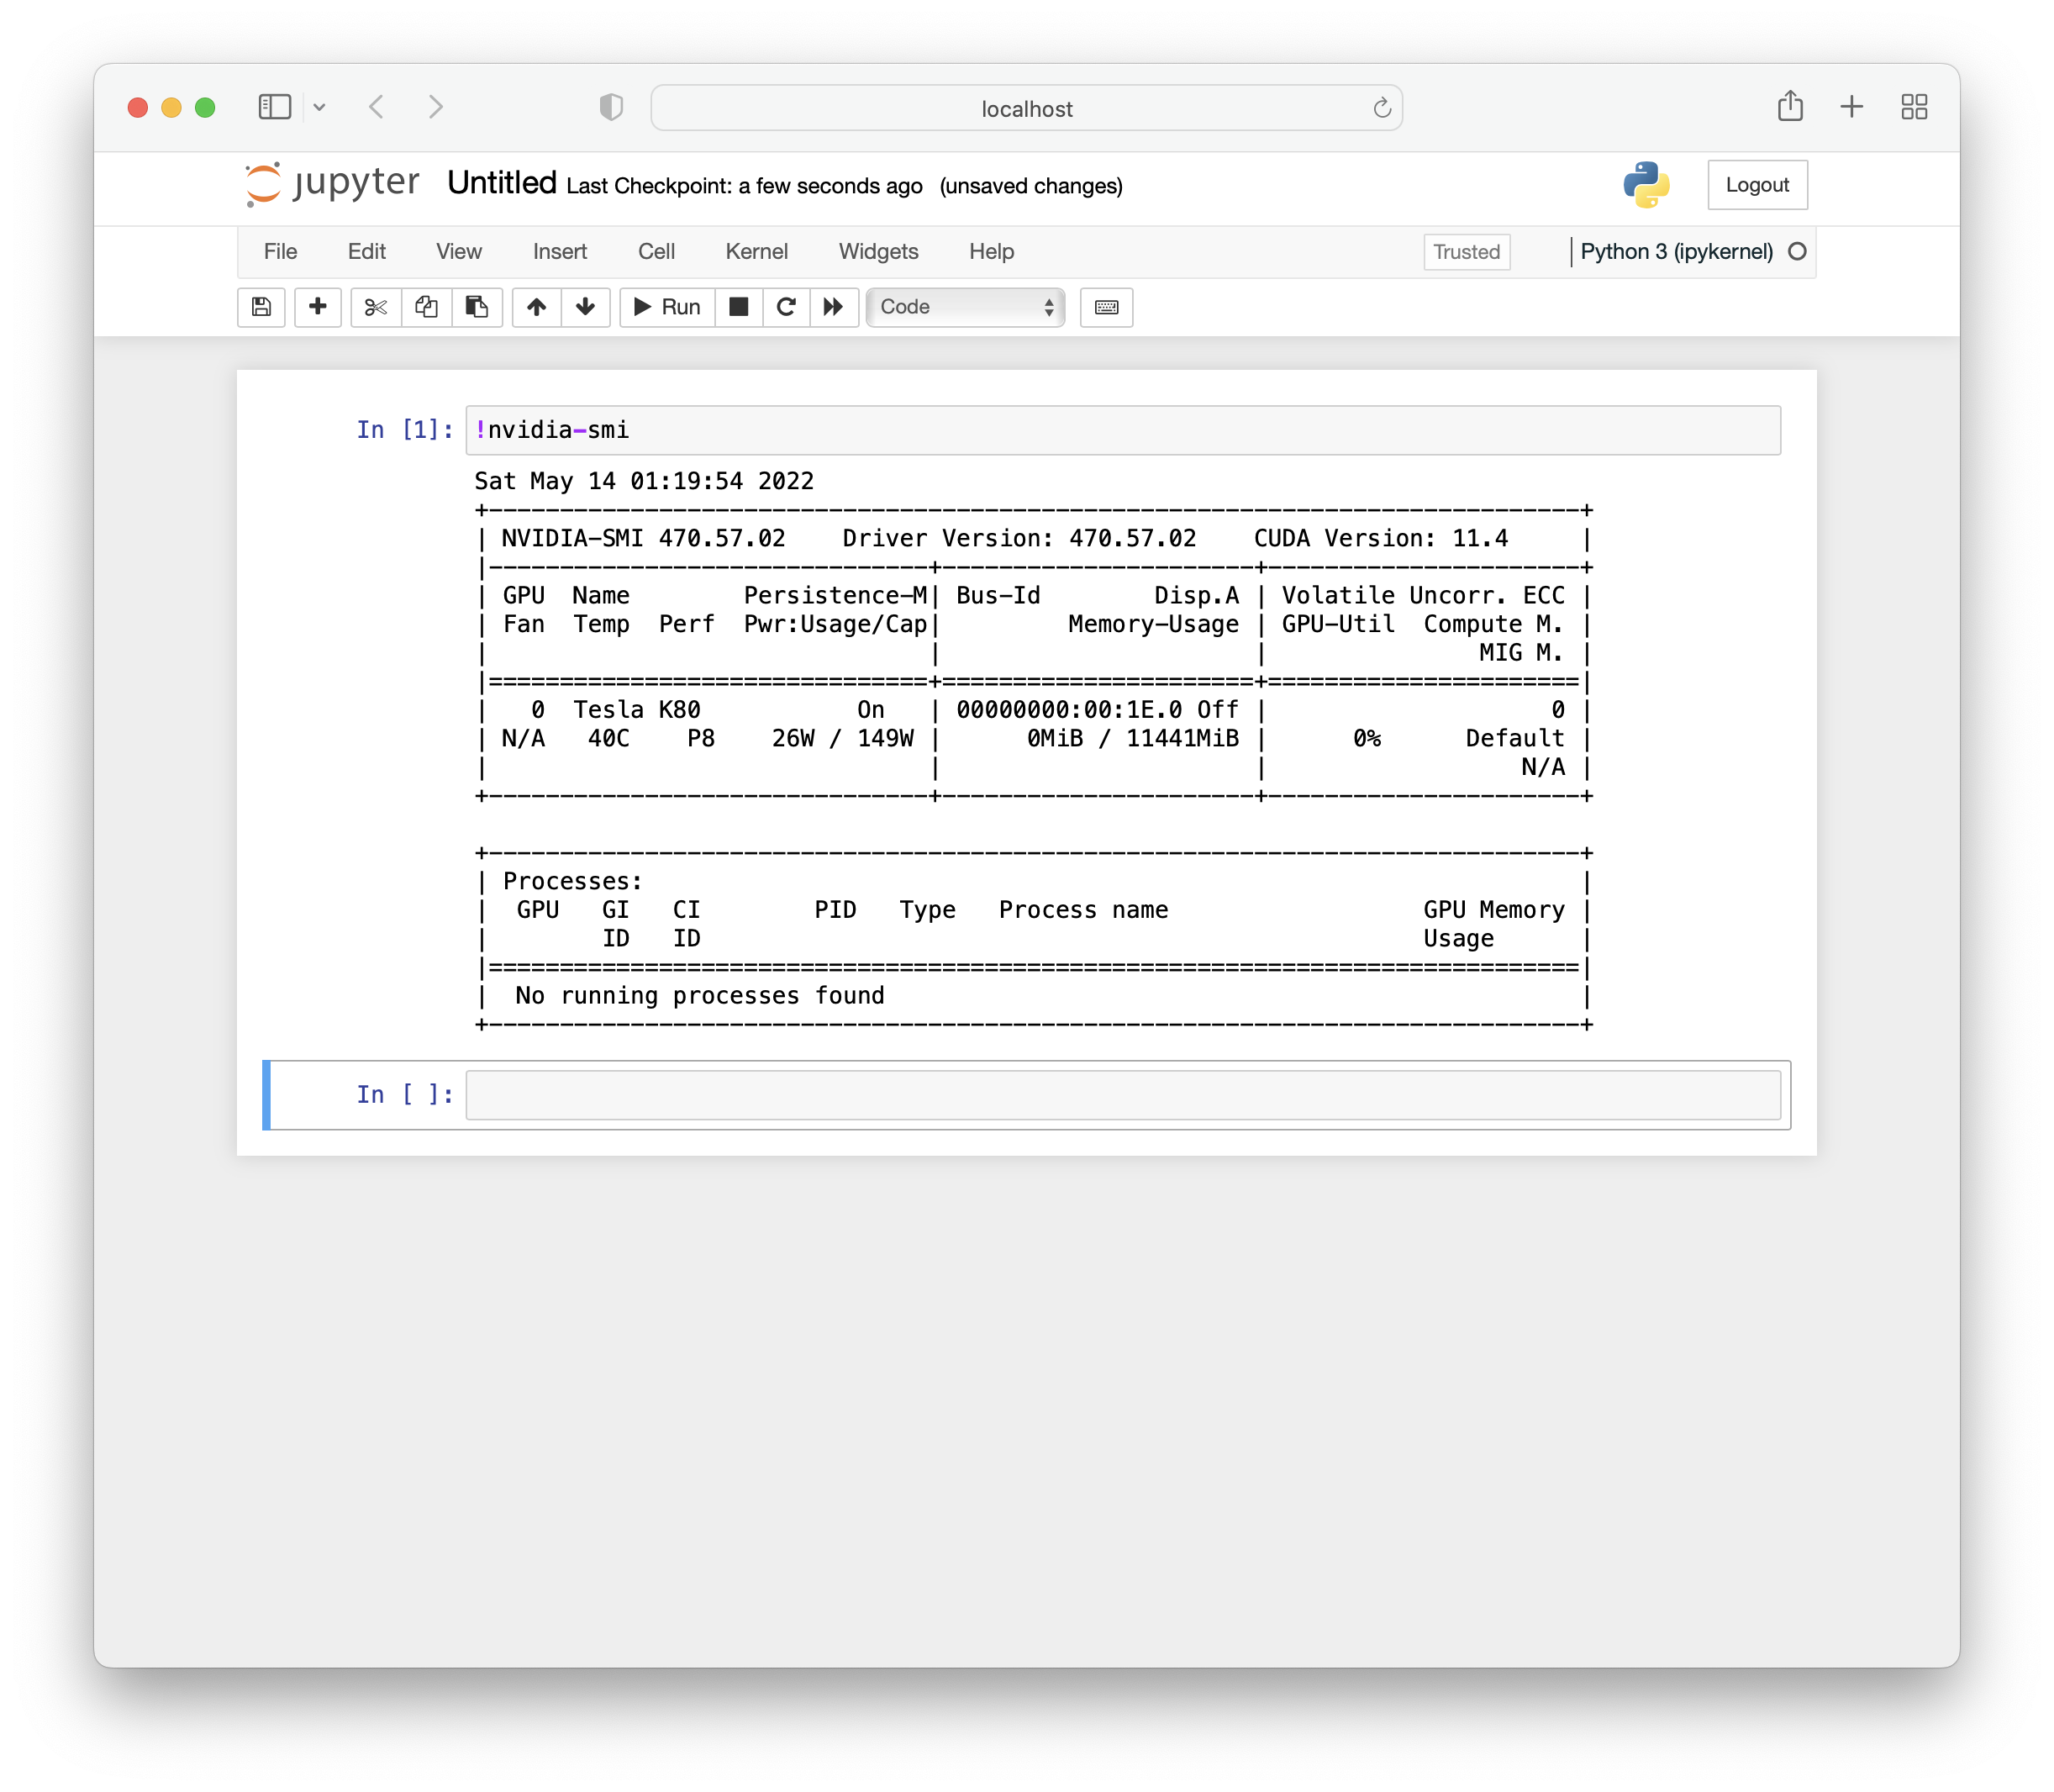
You can verify that this notebook is running on the GPU-backed instance using nvidia-smi.
nvidia-smi in Jupyter notebook
The GPU node is a normal SkyPilot cluster, so you can use the usual CLI commands on it. For example, run sky down/stop to terminate or stop it, and sky exec to execute a task.
Notebooks in SkyPilot tasks#
Jupyter notebooks can also be used in SkyPilot tasks, allowing access to the full range of SkyPilot’s features including mounted storage and autostop.
The following jupyter.yaml is an example of a task specification that can launch notebooks with SkyPilot.
jupyter.yaml
# jupyter.yaml

name: jupyter

resources:
  accelerators: L4:1

file_mounts:
  /covid:
    source: s3://fah-public-data-covid19-cryptic-pockets
    mode: MOUNT

setup: |
  pip install --upgrade pip
  conda init bash
  conda create -n jupyter python=3.9 -y
  conda activate jupyter
  pip install jupyter

run: |
  cd ~/sky_workdir
  conda activate jupyter
  jupyter notebook --port 8888 &
Launch the GPU-backed Jupyter notebook:
sky launch -c jupyter jupyter.yaml
To access the notebook locally, use SSH port forwarding.
ssh -L 8888:localhost:8888 jupyter
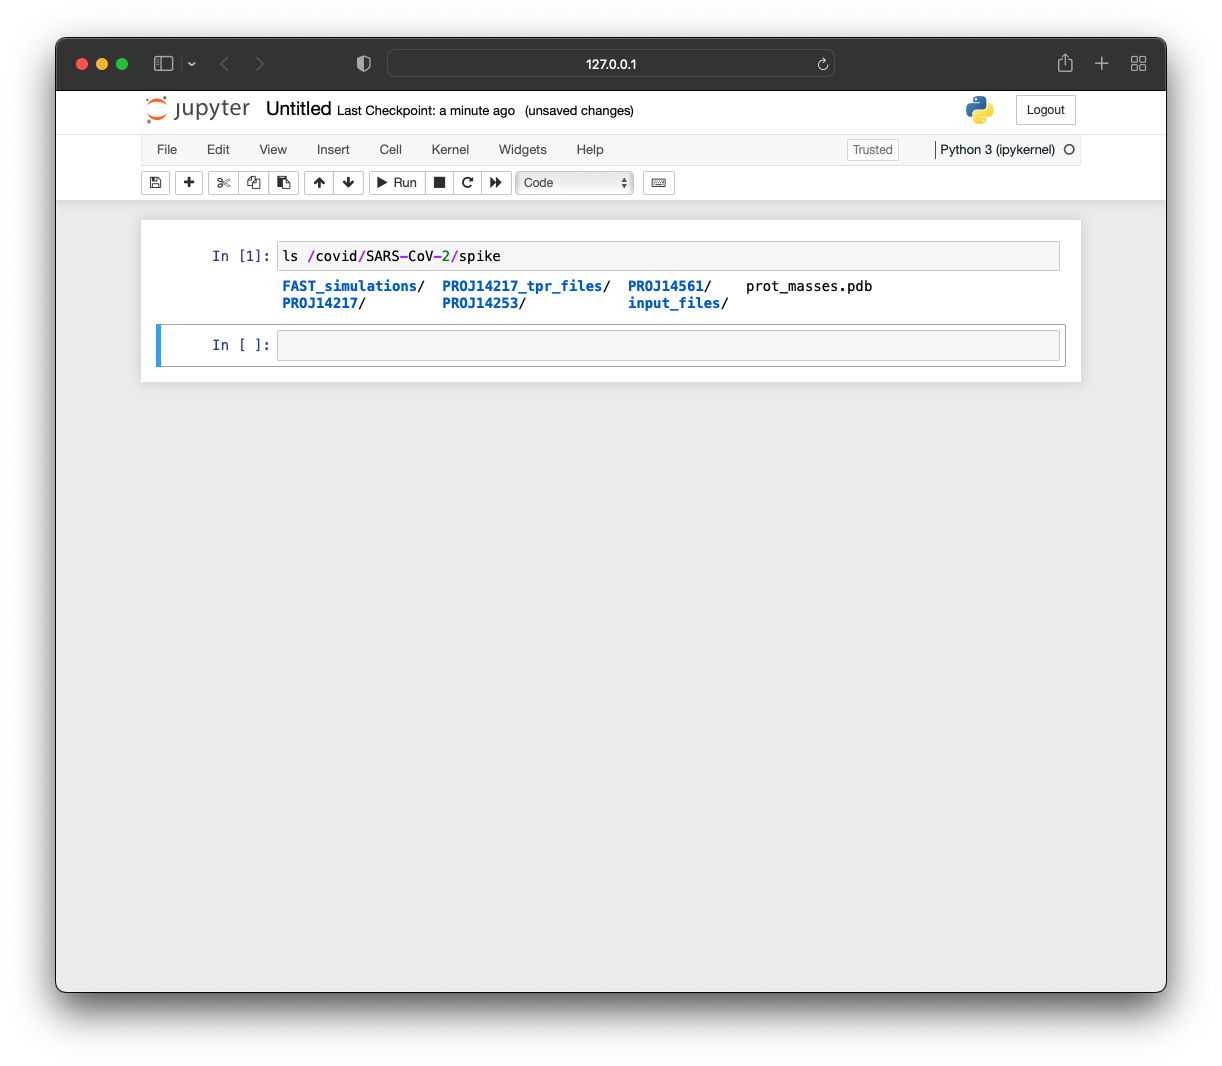
You can verify that this notebook has access to the mounted storage bucket.
Jupyter notebook page
marimo notebooks#
To start a marimo notebook interactively via sky, you can connect to the machine and forward the
port that you want marimo to use:
ssh -L 8080:localhost:8080 dev
Inside the cluster, you can run the following commands to start marimo.
Note
By starting the notebook this way it runs in a completely sandboxed environment. The uvx command ensures that
we can use marimo without installing it in a pre-existing environment and the --sandbox flag
makes sure that any dependencies of the notebook are installed in a separate environment too.
pip install uv
uvx marimo edit --sandbox demo.py --port 8080 --token-password=supersecret
In your local browser, you should now be able to access localhost:8080 and see the following screen:
marimo authentication page
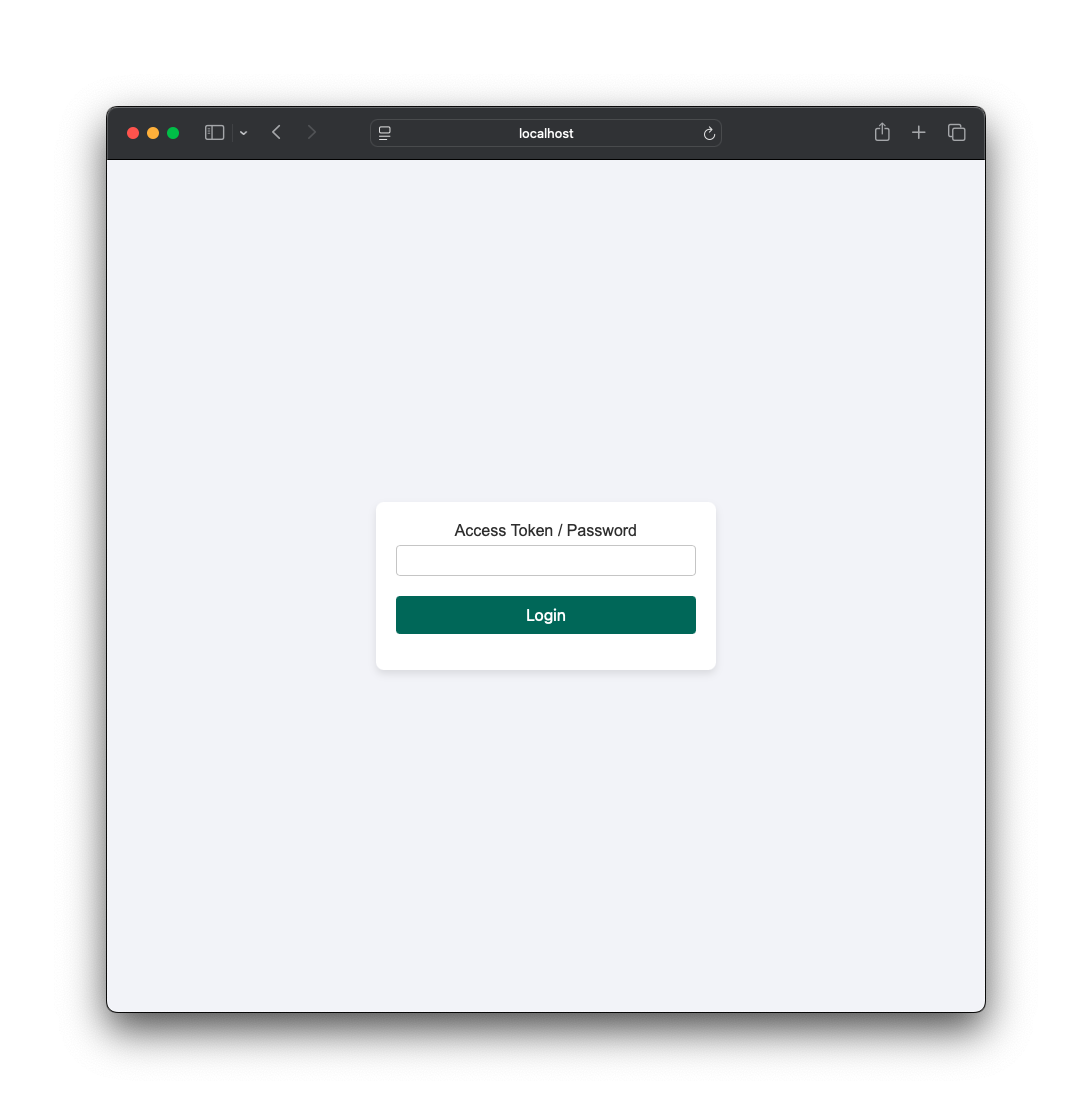
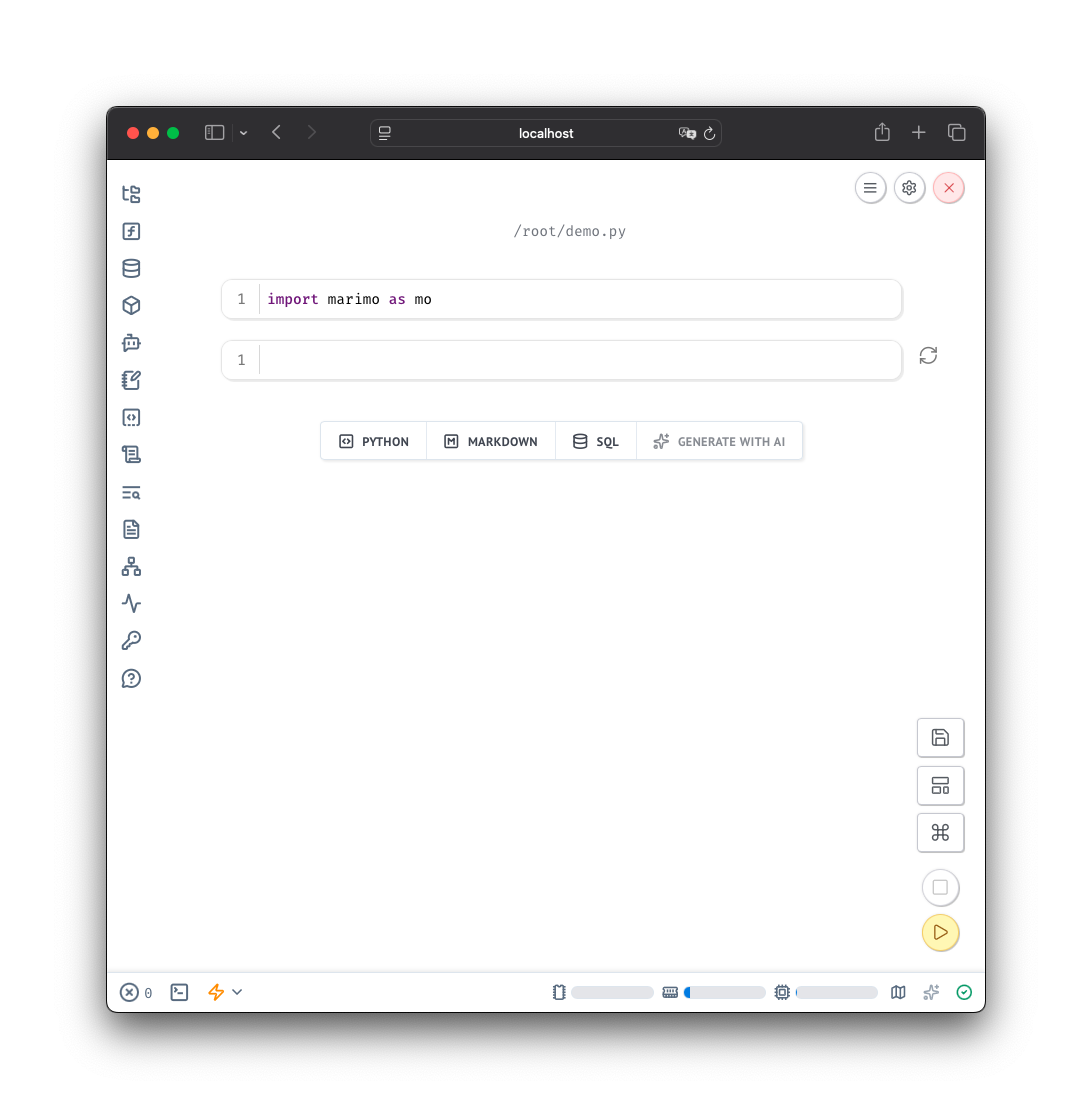
Enter the password or token and you will be directed to your notebook.
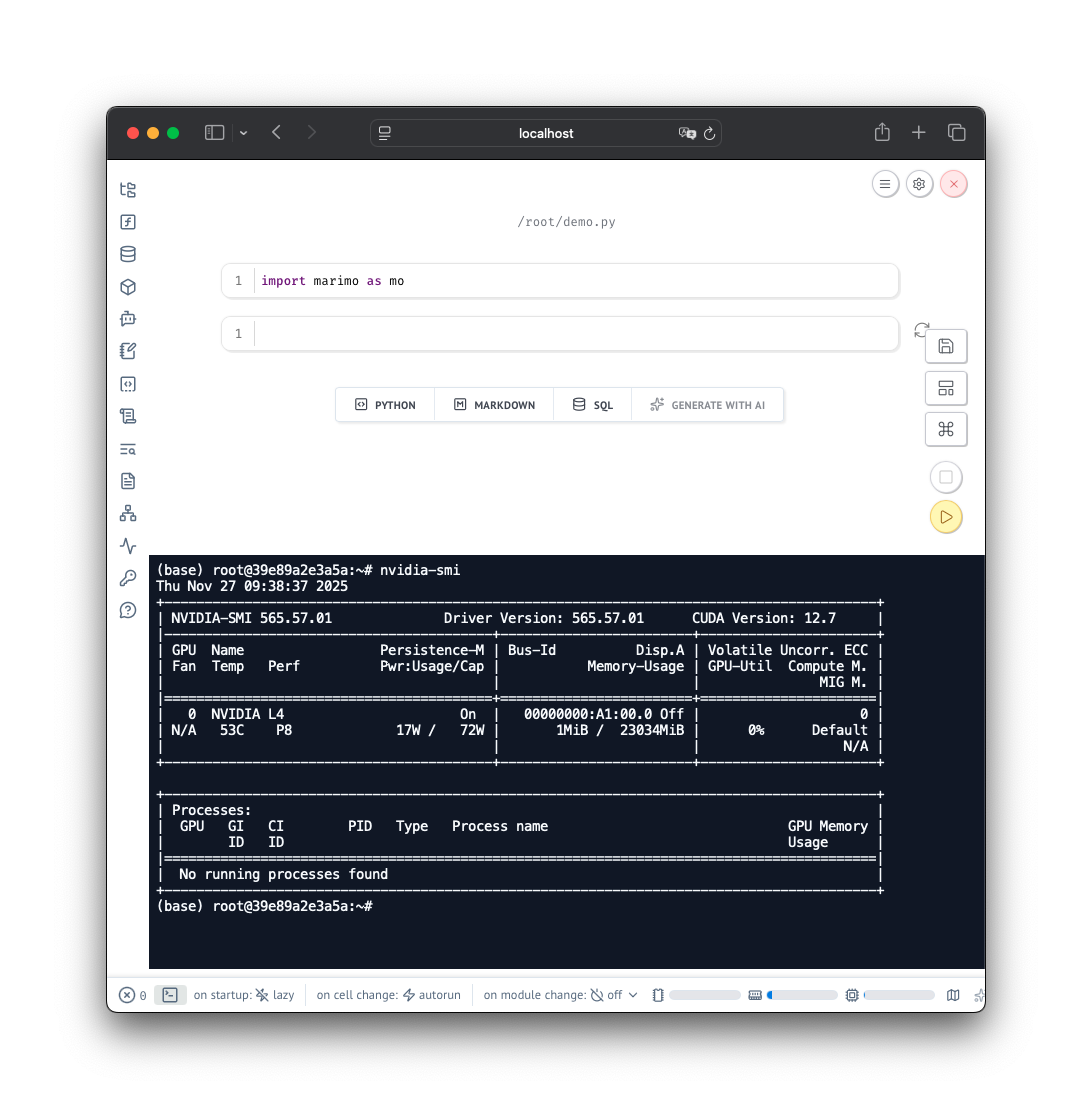
marimo notebook page
You can verify that this notebook is running on the GPU-backed instance using nvidia-smi in
the terminal that marimo provides from the browser.
nvidia-smi in marimo notebook
marimo as SkyPilot jobs#
Because marimo notebooks are stored as Python scripts on disk, you can immediately use it as a SkyPilot job too.
To demonstrate this, let’s consider the following marimo notebook:
marimo notebook example
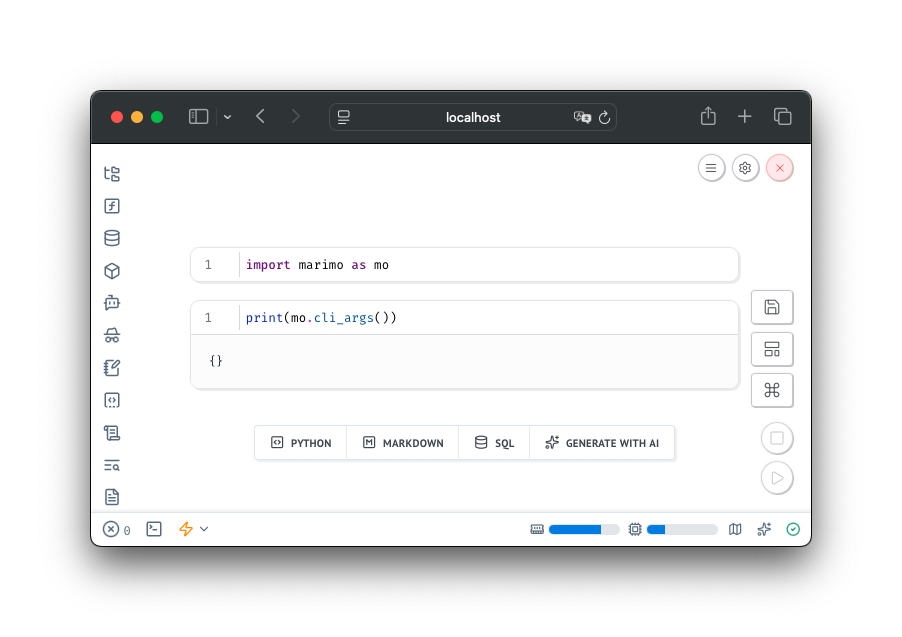
This is the underlying code:
marimo notebook example code
# /// script
# requires-python = ">=3.12"
# dependencies = [
#     "marimo",
# ]
# ///

import marimo

__generated_with = "0.18.1"
app = marimo.App(sql_output="polars")


@app.cell
def _():
    import marimo as mo
    return (mo,)


@app.cell
def _(mo):
    print(mo.cli_args())
    return


if __name__ == "__main__":
    app.run()
This notebook uses mo.cli_args() to parse any command-line arguments passed to the notebook.
A more real-life use-case would take such arguments to train a PyTorch model, but this
tutorial will omit the details of training a model for sake of simplicity.
You can confirm this locally by running the notebook with the following command:
uv run demo.py --hello world --demo works --lr 0.01
This will print the command-line arguments passed to the notebook.
{'hello': 'world', 'demo': 'works', 'lr': '0.01'}
To use a notebook like this as a job you’ll want to configure a notebook yaml file like this:
marimo-demo.yaml
# marimo-demo.yaml
  name: marimo-demo

  # Specify specific resources for this job here
  resources:

  # This needs to point to the folder that has the marimo notebook
  workdir: scripts

  # Fill in any env keys, like wandb
  envs:
    WANDB_API_KEY: "key"

  # We only need to install uv
  setup: pip install uv

  # If the notebook is sandboxed via --sandbox, uv takes care of the dependencies
  run: uv run demo.py --hello world --demo works --lr 0.01
You can now submit this job to sky using the following command:
sky jobs launch -n marimo-demo marimo-demo.yaml
This command will provision cloud resources and then launch the job. You can monitor
the job status by checking logs in the terminal, but you can also check the dashboard
by running sky dashboard.
This is what the dashboard of the job looks like after it is done.
SkyPilot jobs dashboard
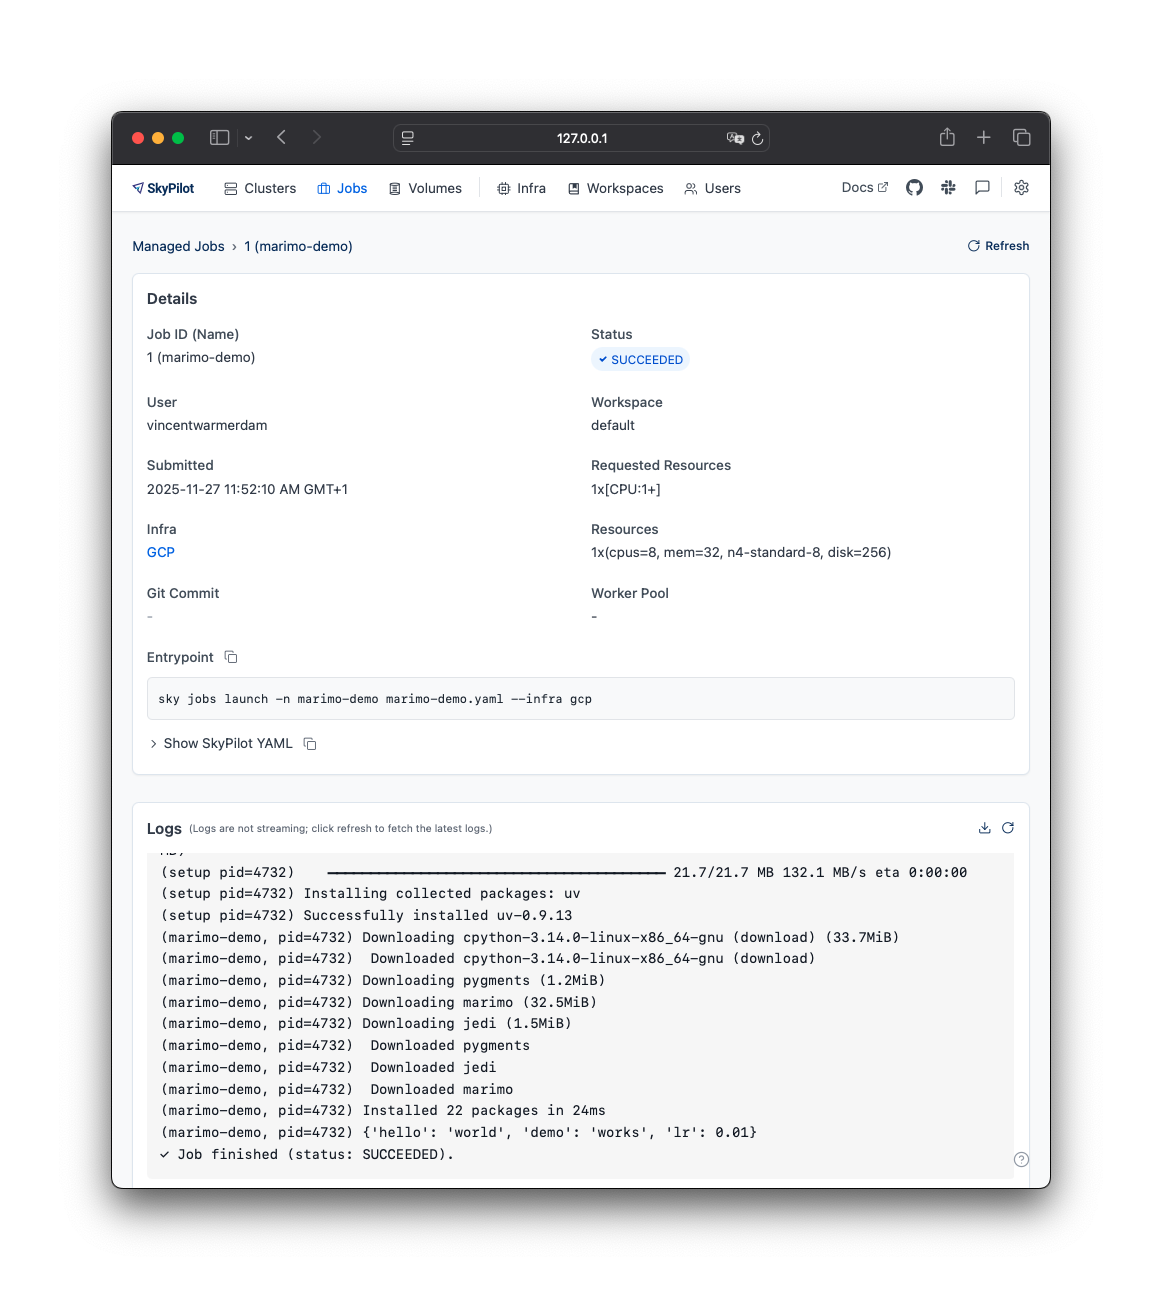
The resources used during the job will also turn off automatically after the resource detects a configurable amount of inactivity. You can learn more about how to configure this behavior on the Managed Jobs guide.
Working with clusters#
To see a typical workflow of working with clusters, you can refer to Quickstart.
Advanced: Resize a cluster#
Existing clusters can be scaled up or down to a different number of
nodes without tearing them down. Pass --resize along with the YAML
that defines the cluster so setup runs on the new workers:
# Scale up: add more workers and run setup on them.
sky launch -c dev --resize --num-nodes 8 dev.yaml

# Scale down: re-provision workers at the new count.
sky launch -c dev --resize --num-nodes 2 dev.yaml
The job queue and logs are preserved across a resize.
Note
New workers start with a clean image. Pass the same YAML you
launched with so setup reruns on them; otherwise the new
workers have no setup applied.
Restrictions:
The cluster must be in the
UPstate (runsky start <cluster>first if it is stopped).Scale-down is rejected if any job is
RUNNING,SETTING_UP, orPENDING. Cancel them first withsky cancel <cluster> -a.Only
--num-nodesmay change. Other hardware (instance type, accelerators, region, zone, etc.) must match the existing cluster.